Ok, so here’s the deal. No one likes boring cheesecake. Not really. There are so many other options out there, so why would you stick with plain? That’s like choosing vanilla ice cream when you could have a full blown sundae.
Sorry. That’s a terrible analogy. I’d choose the vanilla ice cream every time. Anyway. Like I said with the initial cheesecake recipe, if you have a solid foundation, mixing it up is a lot easier, and that’s exactly what we’re going to do now.
There’s one thing you need to know before we get started, though: I hate PB&J sandwiches. No, seriously. Jelly has no business on a peanut butter sandwich. You just need two slices of bread, and enough creamy peanut butter to leave your jaw sore when the sandwich is gone. That’s it. Anything else is a waste of time.
So why put jelly on a cheesecake? Because it’s not a sandwich. It’s a dessert, and all good desserts need fruit.
Ingredients
The Peanut Butter Filling
8 oz cream cheese
1 egg
½ teaspoon vanilla extract
¼ cup sugar
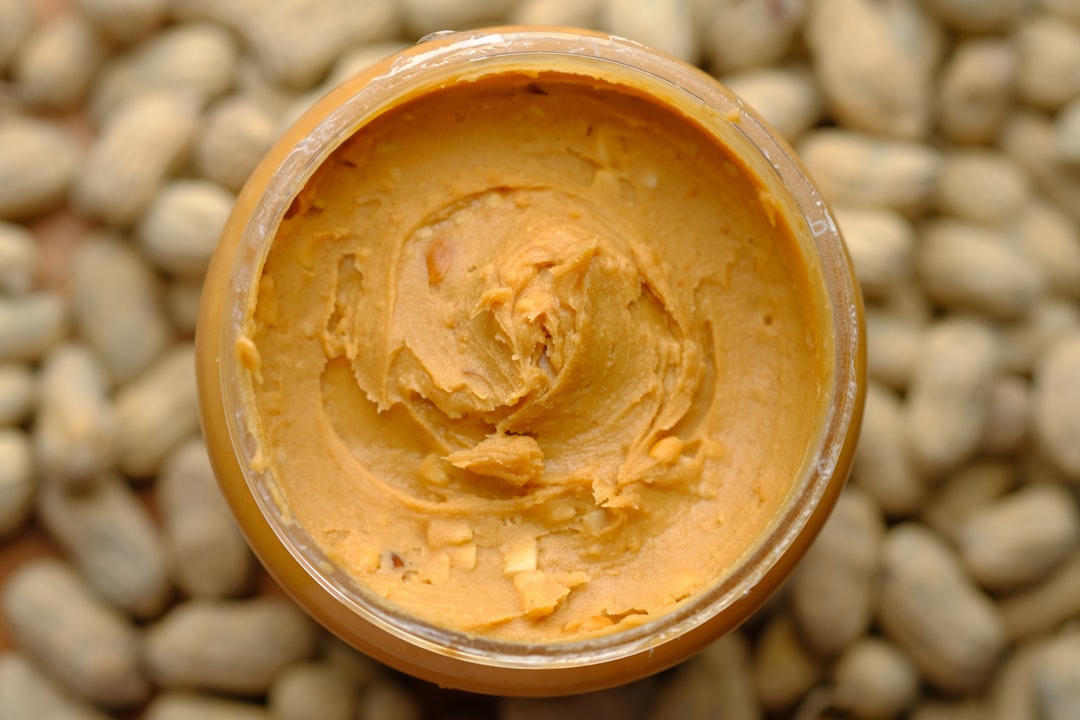
Creamy peanut butter (Skippy or bust. Don’t put any of that Jif crap in my recipe)
The Jelly Filling
8 oz cream cheese
1 egg
½ teaspoon vanilla extract
¼ cup sugar
Raspberry Preserves (this is the superior jelly. I know it. You know it. Stop pretending)
The Crust
Use a premade crust. It’s just easier, and honestly, there’s nothing wrong with it. I've tried making my own crust before. It never works out. I always get this wafer thin center, and a huge wedge of buttery crumbs around the edge of the pan.
Spare yourself the headache, and just pick up a shortbread crust from the grocery store. You can thank me later.
The Process
Step One: The Peanut Butter
This feels weirdly reminiscent of an Origami lesson. Start with a bird base, and then unfold it. . . Sorry. Off topic.
The important thing to remember here is that you’re not making one cheesecake. You’re making two half cheesecakes, and then shoving them into the same crust. We’re going to start with the peanut butter layer.
As far as cheesecake fillings go, this thing is dense. Seriously. If it’s not, you did something wrong. Don’t take it personally. It’s not your fault. I mean, it’s not like I gave you an easily quantifiable measurement to work with.
Start with the base filling, but cut the recipe in half. Mix it all up until the little cheese clumpys are gone. (Is “clumpys” a word? Would it be “clumpies”?) Anyway. Once it’s all mixed up nice and smooth, grab that peanut butter.
No. Stop. Put the Jif back in the garbage where it belongs and get the jar of Skippy like I told you to. Good job.
What you want to do now is grab a big spoonful of the stuff and just plop it into the base filling. I would start somewhere in the range of like a quarter cup. Mix it all in there—again, make sure it’s nice and smooth. You want the filling to turn brown. We’re not talking like old banana brown. That’s disgusting. It should look like there’s some peanut butter in there.
Now, give it a taste. It should be very PB forward. You still want to get a hint of that classic cheesecake flavor, but you want the peanut butter to be in charge. If it’s not. Add more. Just, you know, try not to overdo it.
You should still be able to mostly pour it. With like a little assistance from a spatula. Or a “rubber scraper,” I guess. Apparently, I’ve been using the term “spatula” incorrectly my entire life. But whatever. My cheesecake is delicious.
Once you’re satisfied with the taste and the consistency, set this first batch aside. We’ll come back to it in a minute. Don’t put it in the crust yet. Honestly, I don’t know if it matters. I’m just paranoid that the crust will get all soggy if the filling sits there while you make the second layer.
Step Two: The Jelly
This may shock you, but this next step is almost the same as the first. Start with a half recipe of the base filling, and once it’s all mixed up, grab a jar of raspberry preserves. Not jelly. Preserves. It turns out there’s a difference, and that difference matters.
Now, if you don’t like raspberries for some reason. . . Get. Out.
Sorry. That was a little hostile. Let’s pull it back a little bit. If you really want to pick an inferior fruit like strawberry or . . . grape (may God have mercy on your soul), then I suppose that’s ok, but I take no responsibility for anyone who tries a slice and says “Man, I wish there were raspberries in here.” They're right, and they will say that.
Anyway, much like the peanut butter, start with a smaller amount. A heaping spoonful is a good first attempt. Mix it all in, and then taste it. You want a raspberry forward flavor. It’ll be a little tart, but that’s ok.
The filling is going to turn a purplish-pink, or maybe it’s a pinkish-purple. I don’t know. The point is, you should be able to look at the bowl and think “Yep. There’s fruit in there.”
Baker Beware: A lot of times, if you’re baking with raspberry, people will put in a splash of lemon juice to like make it more tart or whatever. If you’re one of those people, don’t do that. Avoid that muscle memory reflex like your life depends on it.
I don’t really have a reason for that other than “I didn’t do it when I made this, so it must have been the right choice.”
Step Three: Fill the Crust
Now that you have two halves of a greater whole, it’s time to bring the whole package together. Grab that bowl of peanut butter filling and pour/scoop it into the crust. You want to fill the crust halfway (Give or take), and do your best to spread it evenly so you have this nice, level layer of peanut butter.
Up next is the jelly layer. Fill the remainder of the crust with the jelly filling, and make sure it spreads evenly across the top of the peanut butter. You could try to get fancy here and do some artistic swirl. You know—if you’re totally extra and need more followers or something. Marbled cakes always look super cool.
I’ll be honest, though, I don’t have time for that. The layered approach here pretty much guarantees that every bite has a little of both flavors in it, which is what we really want. If you were making a PB&J, you wouldn’t put jelly on the left half of the bread and call it quits. So don’t do that here. You’re better than that.
Step Four: Bake Time
Post-heat your oven to 350°. Yes, even when I’m writing the recipe, I forget to preheat the oven. Sorry, not sorry. Bake this sucker for somewhere in the range of 45 minutes. If it doesn’t look done, let it go longer, but check it every 5 minutes or so just to it doesn’t burn.
Pro Tip: Remember the water bath if you don’t want your masterpiece to crack while it’s cooking.
Once it’s out of the oven, pull it out of the water bath and let it cool on the stove. Or the counter—you know if you have counter space. I don’t, but I hear it’s something that some people get, so whatever.
When it gets close to room temperature, move it to the freezer. I would consider covering it so it doesn’t soak up any freezer smells, but that’s up to you. Let it sit for at least 4 hours (I usually leave mine overnight).
The only thing you have to do now is stay strong. I know you want to taste it. You worked too hard not to, but trust me. Let is set all the way before you dig in. You’ll thank me later. Or maybe you won’t. I’m not the boss of you.
Serving
How you serve this is up to you—and maybe a little bit up to the people you’re serving it to. Personally, I like my cheesecake frozen. Like rock-solid, ice cube levels of frozen, so if I’m grabbing a slice for myself, I’ll saw through the frigid block of baked goodness with the sharpest knife I have and eat it right out of the tin.
If you want a softer cheesecake that’s easier to cut through without risking personal injury and some costly scratches on your countertop, then pull it out of the freezer and let it sit on the counter (uncovered) for like 15 minutes before you cut into it.
Just don’t let it sit too long. It’ll turn to mush, and no one likes a mushy cheesecake. Well, my mom might. She has several questionable dining habits—but that’s a story for another day!
Ooooh